Of all the ways you can distribute and promote your content on, Pinterest has got to be one of my favorites. As soon as I shifted my mindset and stopped considering it social media, things changed entirely. Believe it or not, Pinterest is one of the largest search engines in the entire world. Just think about how powerful that is. The opportunity for discovery is huge! So if you have something you want to direct an audience to, you should absolutely be optimizing your content for Pinterest. Let’s talk about one of the easiest and most impactful things you can start doing now.
Knowing How To Hide A Pinnable Image In Blog Posts Is A Blogging Essential
When I sit down to write a blog post, I try to include at least three different pinnable images in the article. Is it completely necessary? Probably not. But I want to give my articles the best chance they have to make their way around the Pinterest circuit. When I first thought to do this, one of the problems I ran into was how to not clutter up my posts with these extra images. Adding regular photography to enhance my article is one thing. But adding a bunch of graphics designed to get readers to click on them is a whole other story.
So how did I get around it? With one of the smartest tricks in the digital marketing trade: hide a pinnable image in blog posts.
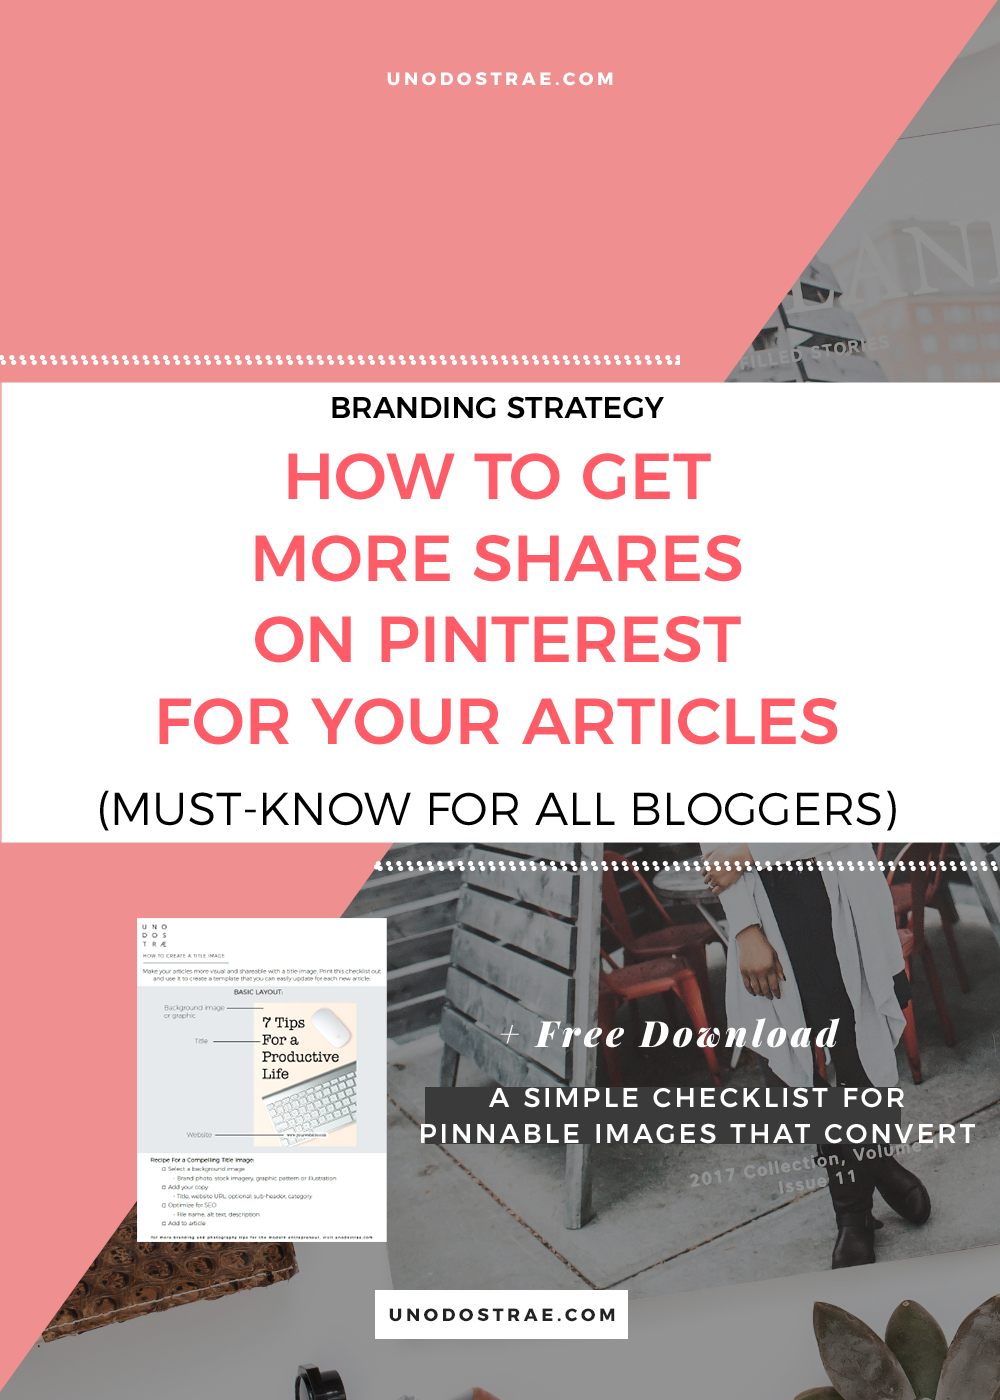
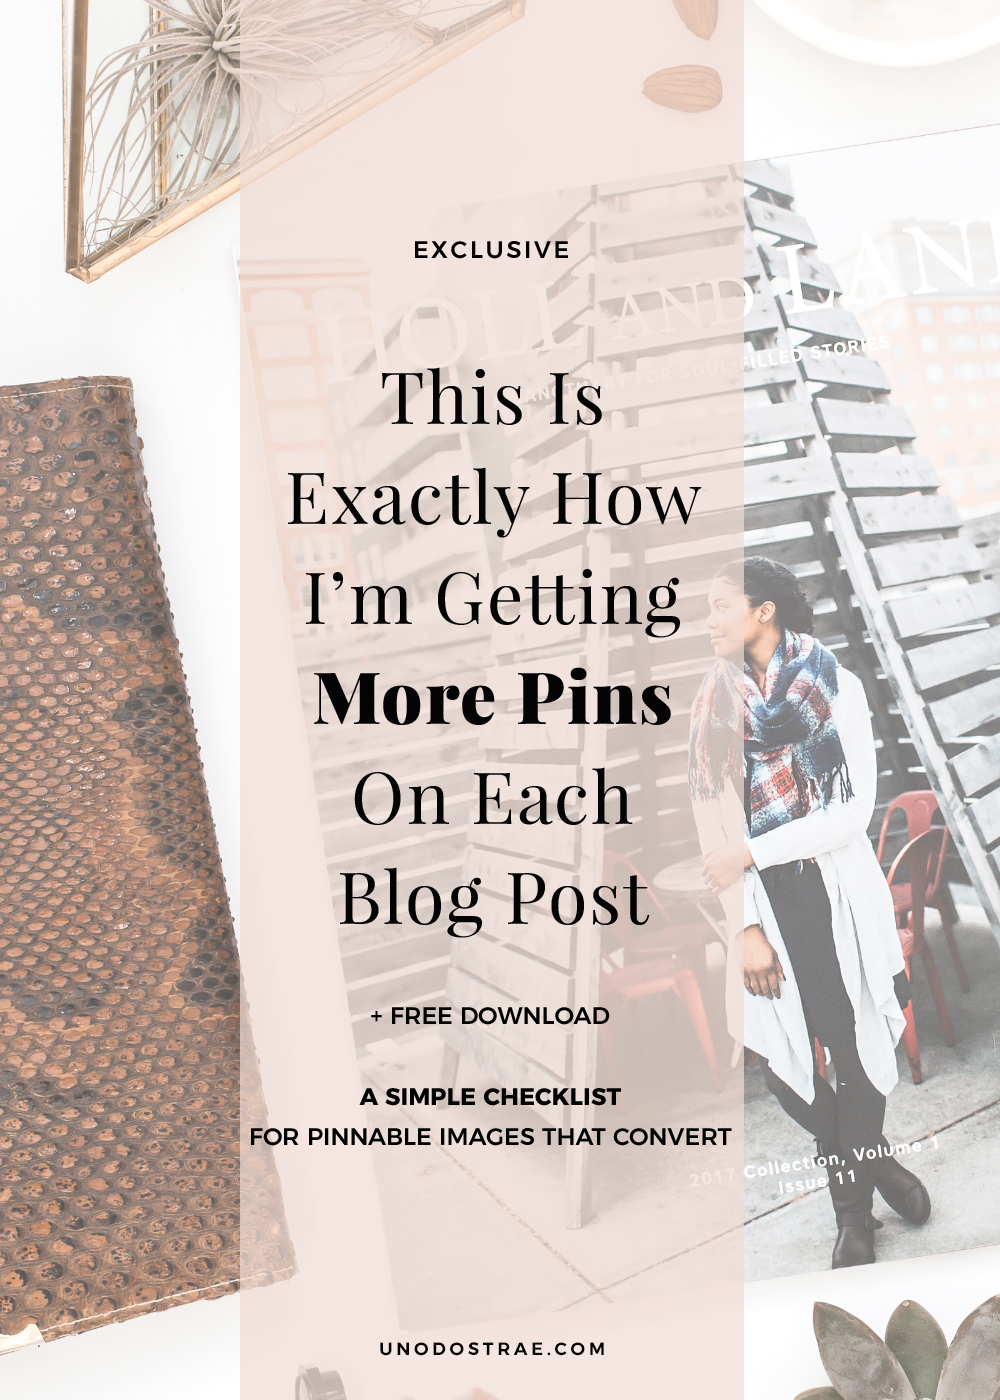
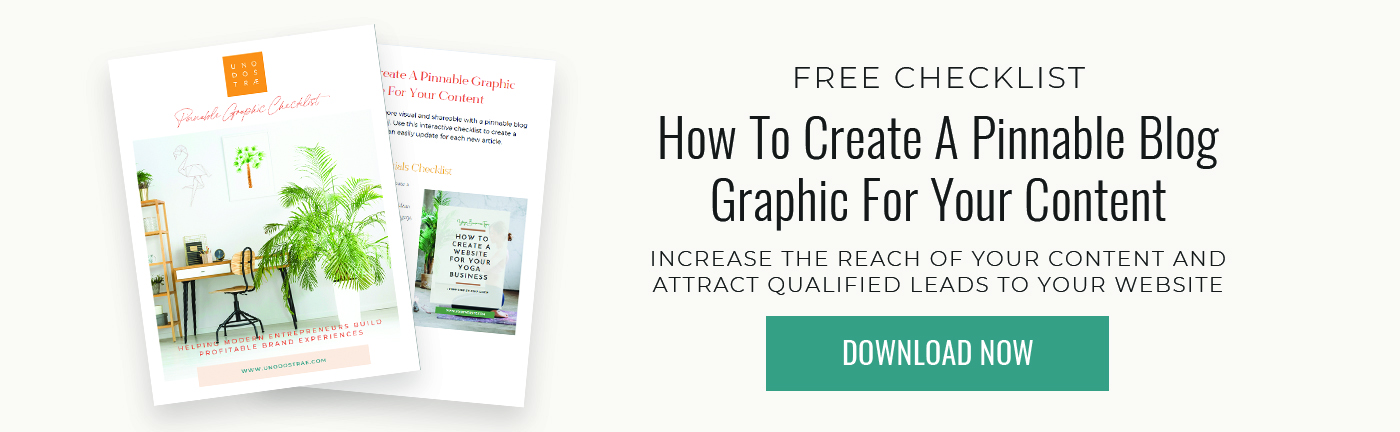
By the way, if you’ve never created a pinnable image for your blog posts before, download this checklist. It breaks down the essentials of a great pinnable graphic in easy, actionable steps:
By knowing how to hide a pinnable image in blog posts, you make your article more valuable (by optimizing it for Pinterest, one of the largest search engines in the world) without distracting your readers. And perhaps more importantly is what it can do for your digital marketing strategy. Let’s talk about the two biggest marketing reasons why you’d want to hide images in your blog posts.
1. Test different ad strategies to represent your post
Have you noticed that you are drawn to pins that look a certain way? It’s different for everybody. For me, I find myself re-pinning images that have brighter colors and bold text. Knowing that I personally respond to this style (in other words, I know that at the very least, it works even if just on me), I want to pin images with bright colors and bold fonts for my posts. But neither design element is a part of my core branding or aesthetic. So it looks pretty random and disconnected if I were to create graphics like this and include them in my articles.
So, as a solution, I hide them. I create additional pins with bright colors and bolder fonts (that still go with my brand colors of course!) and then hide them in my post. That way, whoever lands on my site sees imagery that is still consistent with my site’s style. But I know pins with a punchier personality are standing out on Pinterest and being shared with my ideal readers.
2. Test different variations of your title
Creating more than one pinnable title image for your blog post is a great way to test headlines. Let’s say you have a wellness lifestyle blog for busy 30-something professionals. You write a how-to article about meditation titled 5 Steps To Build A Meditation Habit. But then you ask your friend if she’s read your article yet and she responds, “I’m so sorry! Not yet, I’ve been so busy on this project at work. I barely have enough time to eat – I wish I had time to start a meditation practice! Ugh, I wish I could just pause life for a few moments each day to reset myself.”
You know your article could help her a ton. But you realize in that moment that upon reading the title, your friend immediately associated it with more work for her. If only the benefits of meditating came to her mind instead! You know she would drop everything for that kind of answer.
So, as a solution, create additional pins with different titles and then hide them in your post. The best part by using Pinterest analytics, you can test which titles work best for your content and then create more titles like that. So your three pins might look something like this:
- 5 Steps To Build A Meditation Habit (to attract readers who are already in the market for a step-by-step plan to establish their practice)
- Title #2: How To Practice Mindfulness And Reduce Anxiety (to attract readers who are looking for ways to achieve these results – your article shows them how they can via meditation)
-
Title #3: How to Meditate If You Have No Idea Where to Begin (to attract readers who want to meditate but might be overwhelmed on how to start)
How To Hide Multiple Images In A Blog Post
Follow these step-by-step directions to hide any image in your articles. I explain everything in the context of WordPress but these instructions will apply to other content management systems as well.
Step 1. Create your graphics
Use a high-quality vertical image and size it for Pinterest pins (my pin dimensions have been 736×1104). Include relevant text (your post title, website URL, opt-in incentives) so people have a reason to click on your pin over anybody else’s. If you need more help on this part, click here.
Step 2. Upload your image
Open the blog post you want to add your image to. Decide where in the article you want to insert your graphic and place your cursor there (I usually do it at the very top, others add it at the very bottom. Both positions make it easier to find later on). I always place my hidden images at the very top because they will then appear first when someone goes to pin your article). Click the Add Media button and upload your image to the Media Library. But don’t insert the image just yet.
Step 3. Update the image panel
In WordPress, to the right is a panel of image details. Before you add your image, update the title (so it matches your blog post- if you’re testing variations of your title, this should match whatever variation you have on your graphic). You’re also going to want to update the Alt Text field. When someone pins your image, this text is what auto-populates into the description. You can include your title again and write a brief description explaining what your blog post is about (making sure to include your keyword(s)). You will also want to scroll down to the bottom of the panel to adjust the image size. Make sure your image is set to Full Size.
Step 4. Insert your image
Look everything over one more time in your image panel and then go ahead and insert your image into the article. You should then see your image appear in your blog post.
Step 5. Switch to text view
In WordPress, there are two tabs – Visual and Text – at the top of your Text Editor box. It will likely default to the Visual tab. If so, switch over to the Text tab. This is where you will insert your code.
Step 6. Insert The Code
Now that you’re in the Text tab of the Text Editor box, locate your image. It should be relatively easy to find if you chose to place your image at the very top or bottom of your content (like we discussed in Step 2). Look for the blip of code that starts with “<img class=”
In a new line (so it’s easier to see what you’re adding), copy + paste the following Hidden Image Code into your text:
<div style=”display:none;”>PASTE YOUR IMAGE CODE HERE</div>
***This is important: When you copy and paste this into your text editor, WordPress will change the quotation marks you see here in this code snippet to curly quotes (instead of leaving them as straight ones). The code won’t work with the curly quotes. To fix this, re-type both quotation marks directly in the text editor (both ” and “) after you copy and paste the code in.
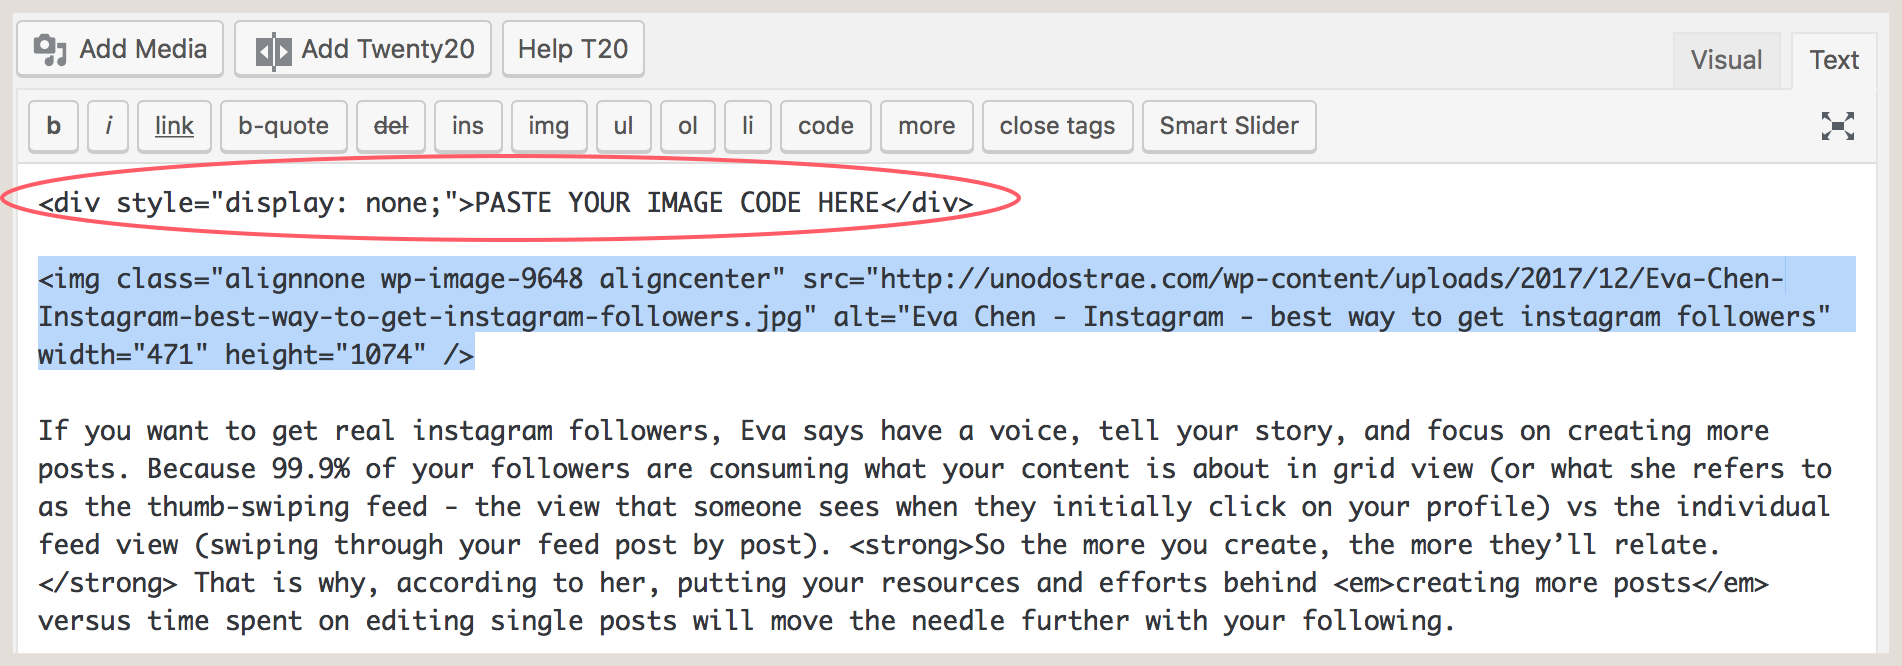
Now we’re going to replace the PASTE YOUR IMAGE CODE HERE with your actual image code with a simple cut + paste. To do this, highlight the entire Image Code of your pinnable graphic and then cut + paste it into the Hidden Image Code where it says “PASTE YOUR IMAGE CODE HERE.”
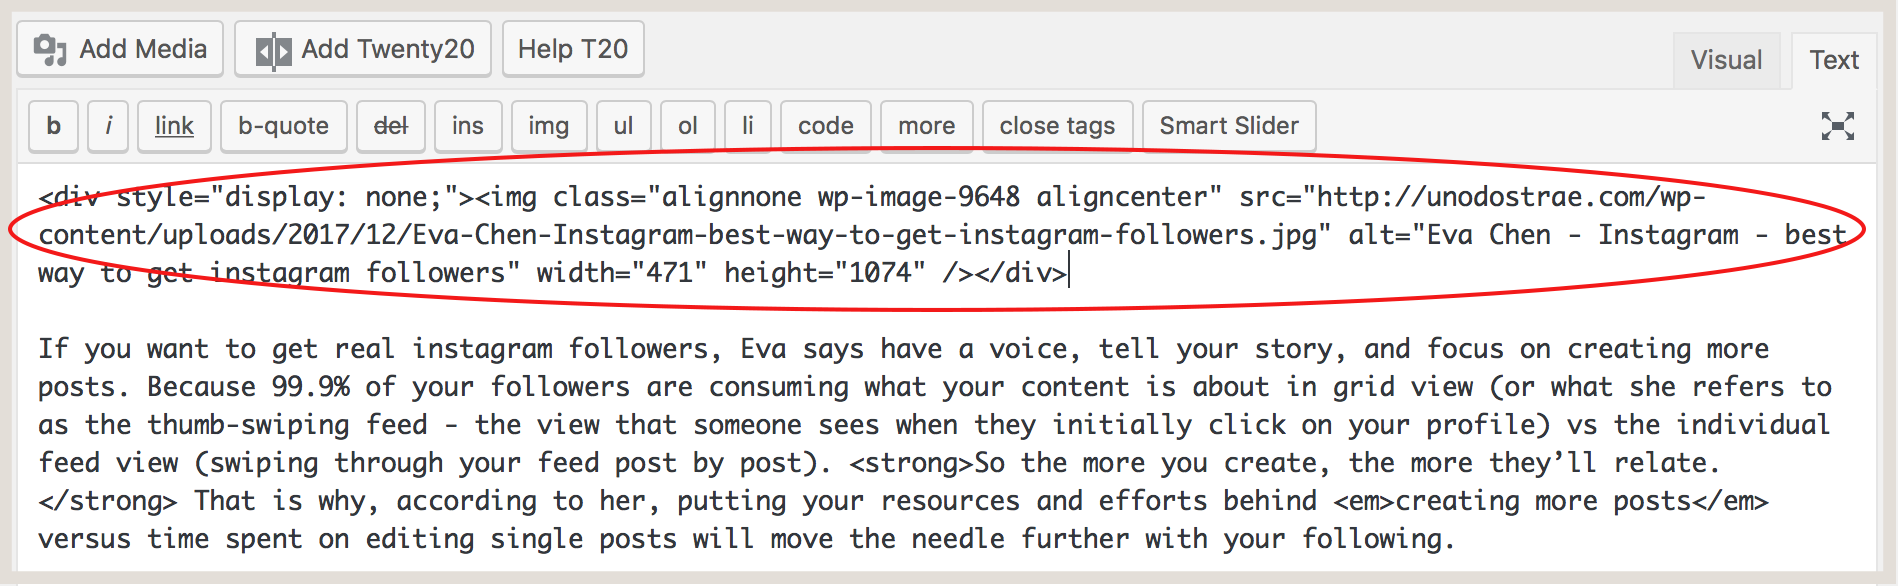
You should now be left with something that looks like this:
Step 7. Save Everything
Switch back to Visual View in the text editor. If done correctly, your image should now be gone (though you know it hasn’t been deleted, only hidden thanks to the Hidden Image Code). Save your settings by clicking the Update button.
Step 8. Test It
To see this all in action, go ahead and try pinning your article. You can either utilize the Pin It button installed on your browser or directly pin your blog post via one of the images or using the social sharing buttons on your webiste. If you don’t have either set up, you can still test out the image by going directly to Pinterest and creating a new pin there. Once you go to pin the article, a couple of images should pop up for you to choose from – including your hidden pin image(s) which should be there! Click on it and make sure your Alt Text description is appearing the way you want it to be and pin away.
That’s it! You just learned how to hide a pinnable image in your blog posts. Incorporate this into your workflow and it will soon become second nature when updating your site. If you need help designing pinnable blog title images, download this simple one-sheeter that will break everything down for you in quick and easy steps.
If you want another set of eyes on your work, feel free to drop your blog post link in the comments so I can check it out!
—
UPDATE: A few people have commented that once they hide an image in their article (per these instructions), the hidden image won’t show up as pinnable when they go to pin their article. I’m not quite sure why this is only happening for some and not everyone (wish I had an answer!). But if this is happening to you, you can try a few things:
- Cache your browser. You can do this after you’ve hidden your images and published your article. Sometimes the browser we’re using temporarily stores recently visited webpages to speed up load times. So if you visited a site, clicked out of it, then went back to it, your browser would display the stored pages from your last visit instead of downloading them again so everything loads super fast for you. For instructions on how to clear your cache, click here.
- Use a plug-in to hide your pinnable images. If adding this simple code isn’t working for you, there are a few WordPress plug-ins you can check out that might do the job. Pros: there’s no coding required (for my non-techies out there). Cons: hiding pinnable images isn’t a free feature (of course). You can check out Warfare Plugins or Tasty Pins if this interests you. I personally haven’t used these myself but have heard quite a bit about them.